1. models.py : Comment 객체 정의

# 댓글
class Comment(models.Model) :
    comment = models.TextField()
    date = models.DateTimeField(auto_now_add=True)
    # Post를 참조(foreign)함
    # 댓글달린 게시글이 삭제되면 참조객체도 삭제
    post = models.ForeignKey(Post, null=True, blank=True, on_delete=models.CASCADE)

    # 게시글 작성시 DB에 title이 나오도록함
    def __str__(self) :
        return self.comment
작성 후 DB에 반영
python manage.py makemigrations
python manage.py migrate
참고: 블로그앱 ForeignKey 0ver-grow.tistory.com/956
2. forms.py : 댓글작성용 폼 추가
# 댓글작성
class CommentForm(forms.ModelForm):
    class Meta :
        model = Comment # models.py의 Comment 객체
        fields = ['comment']
3. views.py : CommentForm객체 사용하기
from .forms import PostForm, CommentForm # forms.py의 PostForm객체 불러오기

def detail(request, post_id) :
    post_detail = get_object_or_404(Post, pk=post_id)
    comment_form = CommentForm()
    return render(request, 'detail.html', {'post_detail':post_detail, 'comment_form':comment_form})
4. detail.html : comment_form을 찍어서 댓글기능으로 쓰자
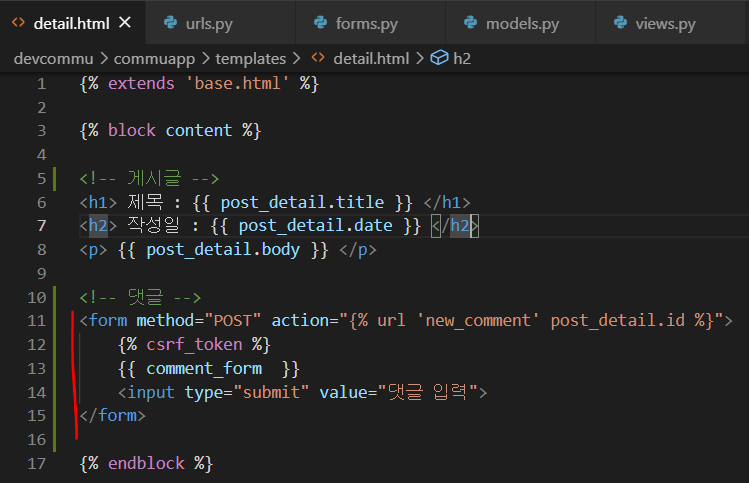
<form method="POST" action="{% url 'new_comment' post_detail.id %}">
    {% csrf_token %}
    {{ comment_form  }}
    <input type="submit" value="댓글 입력">
</form>
Creating Comments System With Django | Django Central
In this tutorial, we will build a basic commenting system for a Django 2.X app, which lets readers add comments on posts. Here is a preview of what we are ... Read more
djangocentral.com
5. urls.py : new_comment라는 url 등록하기
from django.contrib import admin
from django.urls import path
from commuapp import views

urlpatterns = [
    path('admin/', admin.site.urls),
    path('', views.home, name='home'),
    path('postcreate', views.postcreate, name='postcreate'),
    path('detail/<int:post_id>', views.detail, name='detail'),
    path('new_comment/<int:post_id>', views.new_comment, name='new_comment'),
]
6. views.py : 함수(new_comment) 구현하기
이 함수는 언제 실행되나?
1. detail.html에서 댓글 제출 버튼 클릭
2. POST형식으로 new_comment라는 url 실행
3. new_comment라는 url 실행시 new_comment함수 실행
고로 댓글 저장기능만 구현하자
# 댓글 저장
def new_comment(request, post_id) :
    filled_form = CommentForm(request.POST)
    if filled_form.is_valid() :
        # 바로 저장하지 않고
        finished_form = filled_form.save(commit=False)
        # models.py > class Comment > post 정보 확인하여 연결된 게시글 확인
        # 모델객체안에 필요한 정보를 채우고
        finished_form.post = get_object_or_404(Post, pk=post_id)
        # 저장한다.
        finished_form.save()
    return redirect('detail', post_id) # 댓글작성한 상세페이지로 이동
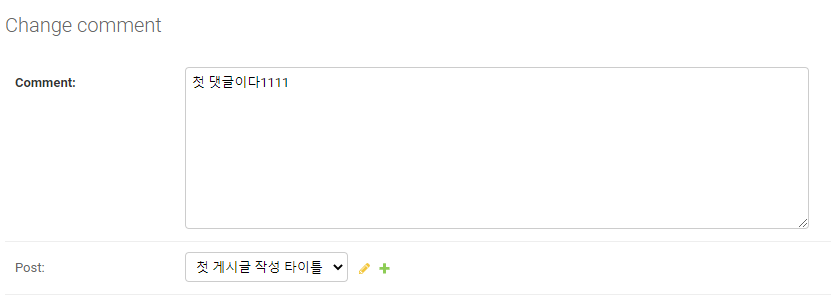
7. admin.py : 관리자 페이지
게시글에서 댓글을 작성한 뒤 admin페이지에서 확인하자
객체를 확인하기 위해선 객체를 등록해줘야한다.
확인할 객체는 Comment
from django.contrib import admin
from .models import Post, Comment

admin.site.register(Post)
admin.site.register(Comment)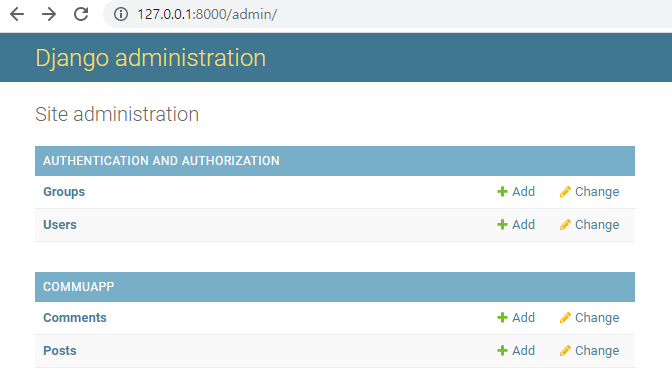
8. detail.html
댓글을 볼 수 있도록 띄워주자
post_detail이란 게시글을 참조하는 코멘트 집합 전체를 순회하도록 만들자
post_detail : 객체
post_detail.comment : post_detail객체에 종속적인 comment모델
post_detail.comment_set : comment라는 객체의 집합
post_detail.comment_set.all : comment라는 객체의 집합의 전체
<!--post_detail이란 게시글을 참조하는 코멘트 집합 전체를 순회하도록 만들자-->
{% for comment in post_detail.comment_set.all %}
    <p> {{ comment }} </p>
    <p> {{ comment.date }} </p> <!-- models.py > Comment 클래스 > date 변수 -->
    <hr>
{% endfor %}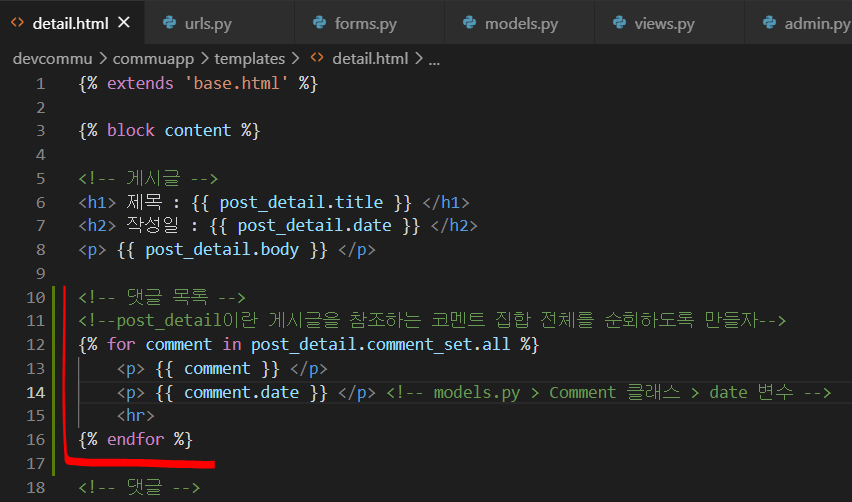
댓글을 작성한 게시글 클릭시 다음과 같이 나타난다.

'○ WEB > 21.02 CodeLion_Django Web' 카테고리의 다른 글
| [장고 실전3] 5. 커뮤니티 : 템플릿 가공 (0) | 2021.04.03 |
|---|---|
| [장고 실전3] 4. 커뮤니티 : 로그인, 로그아웃 (0) | 2021.04.01 |
| [장고 실전3] 2. 커뮤니티 : 디테일 페이지 (0) | 2021.03.27 |
| [장고 실전3] 1. 커뮤니티 : 기초작업, 새글작성하기 (0) | 2021.03.24 |
| [장고 실전2] 7. 블로그 : 로그인/로그아웃 (0) | 2021.03.16 |


